Here’s how to ferment veggies for optimal digestion and immune health.
If you missed the first article on fermented veggies begin by reading this Fermented Veggies for Digestive Health.
Fermentation is a simple and inexpensive way to optimize your health by promoting probiotics in your gut the old fashion way. In the old days, before refrigeration, canning or toxic chemical preservatives, people preserved their foods by fermentation. Microorganisms like bacteria or yeast are used to culture foods producing a lactic acid fermentation. It offers a wonderful tart flavor that I like to add into salads and stir-fry dishes.
Many people, especially children, have weak digestion and immune function because of the overuse of antibiotics that not only wipes out bad bugs but also destroys the beneficial gut flora. Eating ferments can help restore these probiotics naturally.
This article is only 1 recipe but I encourage you to search the web for ferments and other recipes for cultured foods that you can experiment with and enjoy for optimal health.
In this article I want to layout a very simple method for fermented carrots.
(30 minutes preparation time, 3-7 days fermenting time)
Ingredients:
- 9 large carrots (or about 5-6 cups of grated carrots)
- 1 tbsp sea salt
- 1/2 cup of spring water
- olive oil or coconut oil
- optional tbsp of freshly grated ginger
Also needed:
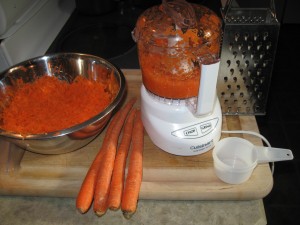
- large bowl
- food processor or blender – anything that can produce a little more juice
- 2 small wide mouth glass mason jars with lids
- grater
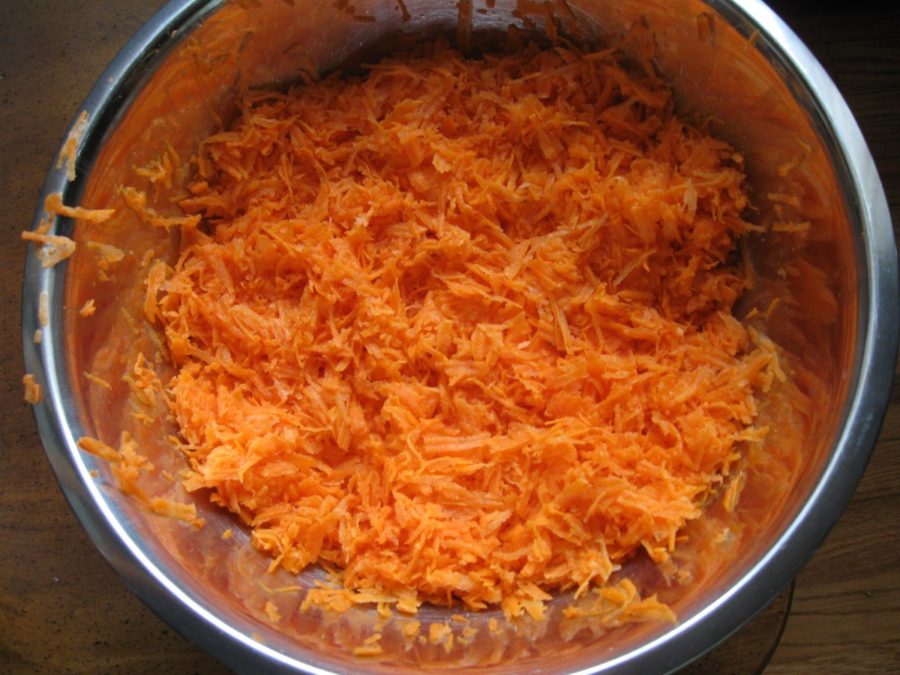
Step1. grate 6 large carrots (quantity can vary but this worked for me)
- Using a grater with large holes is helpful. You don’t want grate the carrots too small – I find the texture too mushy for my pallet.
Step 2. Place shredded carrots in a bowl (along with the grated ginger if you choose this option) – sprinkle sea salt over the top and toss.
- let it sit for about 20 – 30 minutes – through the process of osmosis the salt will leach out the moisture in the carrots and create a slightly salty brine mix.
Step 3. chop the 2 remaining carrots into large pieces to fit into a food processor or blender (what ever you have) and shred it up along with the 1/2 cup of spring water
- 2 important reasons for this step – 1. this will give us extra liquid – the carrots need to sit under the liquid for proper anaerobic fermentation. 2. breaking down the cellular walls of this veggie will help release the natural lactobacilli microorganisms to get this culture started naturally.
Step 4. Squeeze the carrot and sea salt mix by hand – this will help release the needed juice
Step 5. Pour the carrot and spring water mix into the bowl with the carrots and sea salt and mix together
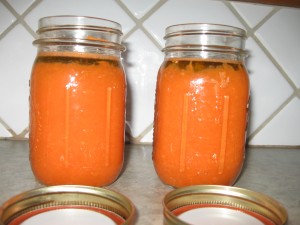
Step 6. Stuff the mason jars about 3/4 full.
- Smash down the carrot shreds firmly with a fork and make sure they sit about 1 inch below the water line.
Step 7. Let the jars sit in a dark place in your home out of the sun. After 3 – 7 days transfer them to your refrigerator.
- Warmer temperatures in your home means a faster fermentation process.
- You can judge on how long you want it to ferment by taste – try a little each day to taste the level of acidity.
Done!
I keep the lid loose on the jar. The salt helps prevent growth of bad bacteria or fungus on the surface that is exposed to the air. This is also why it’s important to keep the veggies below the water line. Check out my trick below but note that some people don’t use oil or any weight on top and simply push the carrots down once each day with a fork.
Here’s a trick: I like to pour a thin layer of coconut oil or olive oil over the top of the veggies in the jar to provide a gentle seal. This sort of acts as a barrier on the surface between the air and the ingredients below the waterline. The coconut oil will need to be melted to pour. It will turn solid at room temperature and can be lifted when ready to eat. The olive oil can be mixed right in when ready to eat.
Give it a try!
Bon appetite!


